
Homeowner Guide to Roof Leak Remediation

Updated: Jun 21
A roof leak rarely starts with a dramatic ceiling collapse. More often, it begins with a faint stain above a hallway light, a musty smell after rain, or a drip that only shows up during wind-driven storms. That is exactly why a homeowner guide to roof leak remediation matters - the earlier you identify the real source, the better your chance of stopping structural damage, mold growth, and repeat repair costs.
Most homeowners make the same expensive mistake. They focus on where the water appears inside the home, not where it actually enters the building envelope. Those two points are often several feet apart. Water travels along decking, rafters, insulation, and wall cavities before it becomes visible. If you repair the symptom instead of the entry point, the leak usually returns.
Understanding Roof Leak Remediation
Roof leak remediation is more than patching a wet spot. A true remediation process identifies the cause of water intrusion, evaluates how far moisture has spread, removes failed materials when needed, and applies the correct waterproofing or roofing repair system for long-term protection.
That distinction matters. A quick patch may buy time, but it does not always solve cracked flashing, failed roof penetrations, membrane breakdown, ponding water, or hidden substrate damage. Effective remediation is about permanence, not delay. For homeowners, landlords, and property managers, the goal should be simple: stop the leak at its source and prevent it from returning with the next heavy rain.
Early Signs You Should Never Ignore
Some leaks announce themselves with active dripping. Others stay quiet until repair costs rise. The earlier you act, the more options you usually have.
Watch for yellow or brown ceiling stains, bubbling paint, peeling drywall tape, swollen trim, damp attic insulation, or a persistent mildew odor. On exterior walls near rooflines, you may also notice discoloration, cracking, or damp patches after storms. These are all signs that water is moving where it should not.
It also helps to pay attention to timing. If moisture appears only after hard rain, the roof is a likely suspect. If it worsens with wind, flashing, ridge details, or wall-roof intersections may be involved. If the stain grows slowly even in dry weather, trapped moisture may already be spreading inside the assembly.
A Homeowner Guide to Roof Leak Remediation Starts with Triage
When a leak appears, speed matters. The first priority is damage control. Move furniture, electronics, and rugs away from the affected area. Place a bucket under active drips and use towels to protect flooring. If the ceiling is bulging, that pocket may be holding trapped water, which can become a collapse risk.
If it is safe, document the damage with photos. Capture the interior stain, drip location, nearby walls, and any visible roof conditions from the ground. These photos help a specialist assess urgency and narrow down likely causes before arriving on site.
Do not climb onto a wet roof. That creates safety risks and often leads to guesswork repairs. A temporary tarp can help in some situations, but it is not a substitute for diagnosis. Emergency protection has value. Permanent correction matters more.
Where Roof Leaks Commonly Begin
Most residential roof leaks do not come from open holes in the middle of a field of shingles. They usually begin at transitions, penetrations, and edges where materials expand, contract, and age differently.
Flashing failure is one of the most common causes. Around chimneys, vents, skylights, and valleys, water relies on correctly installed metal or membrane details to stay outside. If those details crack, lift, corrode, or were installed poorly, water finds a path in.
Aging roof coverings are another major issue. Shingles can curl, loosen, or lose granules. Flat and low-slope roofs may develop seam failure, membrane blistering, surface cracks, or ponding water. Clogged gutters can force water backward under roof edges. In some homes, the problem is not the field roof at all, but adjoining balconies, parapets, or exterior wall joints feeding water into the ceiling below.
This is why inspection-led remediation is so important. The visible leak may be a roof issue, a façade issue, or a combination of both.
Why DIY Roof Leak Fixes Often Fail
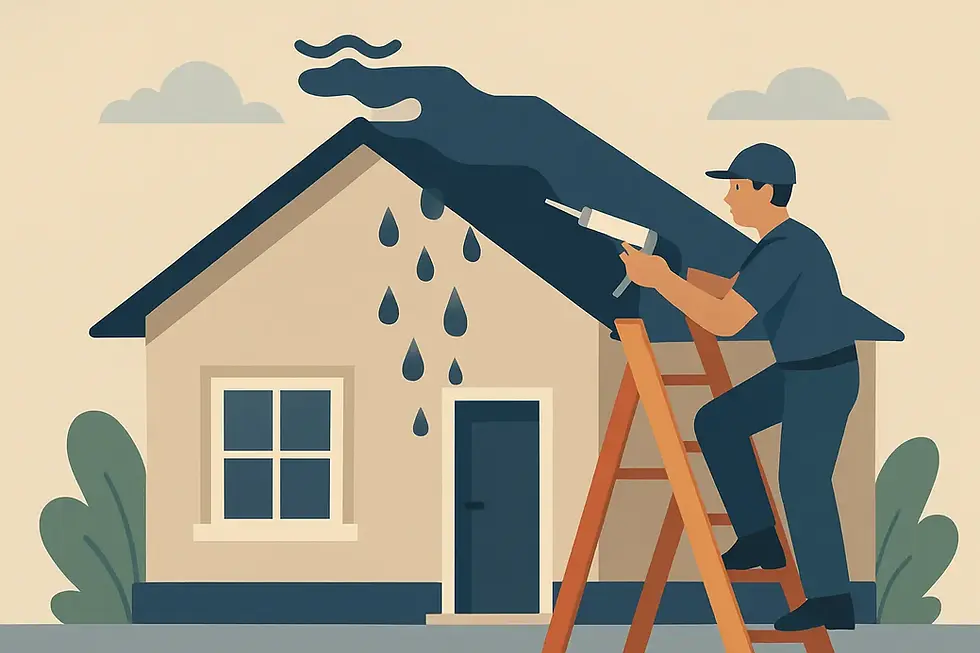
Homeowners understandably want a fast answer. A tube of sealant feels cheaper than a professional visit. The problem is that generic patching rarely addresses the full pathway of water intrusion.
Sealant has a place, but only when it is compatible with the existing system and applied to the right detail. Used as a guess, it can trap water, hide deterioration, and make later repairs more difficult. The same goes for coating over a failed substrate. If the base surface is already compromised, the leak usually comes back.
There is also the issue of false confidence. A repair that survives one light rain may fail during the next storm cycle. Homeowners then pay twice - first for the temporary fix, then again for proper remediation and interior restoration.
What a Professional Roof Leak Remediation Process Should Include
A reliable specialist does not start with a price based on assumptions. They start with evidence. That means reviewing symptoms, inspecting likely entry points, and tracing the leak path before recommending treatment.
A proper process usually includes surface inspection, moisture pattern assessment, condition checks around flashing and penetrations, and a review of related waterproofing areas such as balconies or external walls when the leak pattern suggests crossover. In some cases, selective opening or moisture testing may be needed to confirm hidden spread.
Then comes system selection. Not every leak needs the same treatment. Some situations call for flashing replacement. Others require crack treatment, membrane repair, substrate preparation, or a more advanced waterproofing system built for long-term performance. This is where specialist expertise matters. The best result comes from matching the remedy to the failure, not forcing every problem into the same repair method.
Choosing a Lasting Fix Instead of a Repeat Repair
If you have already repaired the same leak once or twice, you are not dealing with bad luck. You are dealing with incomplete diagnosis, unsuitable materials, or both.
A lasting fix should give you clarity on three things: what failed, how it will be repaired, and what protection stands behind the work. Ask direct questions. Is the contractor addressing the source or just the visible symptom? Are they experienced specifically in waterproofing and water intrusion, or are they handling it as a side service? Is there a written warranty tied to the waterproofing work?
This is where specialist providers separate themselves from general repair crews. A company focused on leak diagnosis and permanent water intrusion control is more likely to recognize hidden crossover issues and recommend a durable system. At Invisisealworks, that inspection-first approach is central - especially for leaks that involve roofs, ceilings, balconies, and exterior walls together rather than in isolation.
The Value of Photo-Based Leak Assessment
When water is actively entering your home, waiting days just to start the conversation is frustrating. One of the fastest ways to shorten the path to action is by sending photos of the affected area.
Clear images of ceiling stains, damp walls, roof edges, penetrations, and exterior cracking can help a specialist triage the issue quickly. It will not replace a full inspection, but it can help determine likely causes, urgency, and the right next step. For property managers and landlords, this is especially useful when coordinating repairs across multiple units or occupied homes.
The benefit is simple: faster diagnosis usually means less water damage, less disruption, and less uncertainty.
What Homeowners Should Expect After Remediation
A successful repair should not leave you guessing every time it rains. You should know what was repaired, why that method was chosen, and what level of protection follows.
Depending on the leak history and the condition of the affected area, remediation may also need to be paired with interior drying, stain treatment, or ceiling repair after the exterior source is fully stopped. Sequence matters. Restoring drywall before the leak source is resolved is how people end up repairing the same ceiling twice.
You should also expect realistic guidance. Some roofs need targeted repairs. Others are at the stage where broader restoration is the more cost-effective decision. A trustworthy specialist will tell you which situation you are in and why.
If your ceiling stain keeps growing, your wall smells damp after rain, or a “fixed” leak keeps returning, treat that as a warning, not a nuisance. Water intrusion gets more expensive with time, but it becomes more manageable when the source is identified early and repaired correctly. The right next step is not another patch. It is a clear diagnosis and a repair plan built to hold.
Conclusion
In conclusion, understanding roof leak remediation is crucial for homeowners. By identifying the source of leaks early, you can prevent costly repairs and protect your home from water damage. Always seek professional help for a thorough assessment and effective solutions. Remember, a quick fix may not be enough; investing in a lasting solution is key to safeguarding your home against future leaks.


Comments